Information displays while shooting
Monitor display during still photography
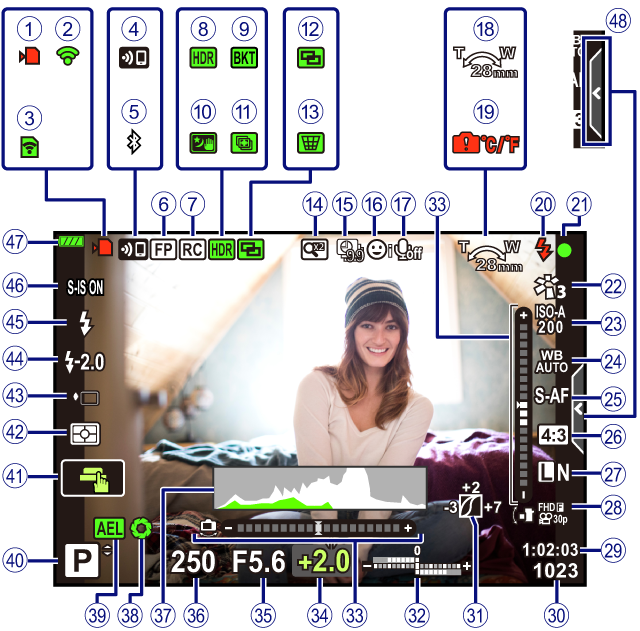
1 Card write indicator
2 Connected via wireless LAN
3 Eye-Fi upload in progress
4 Wireless LAN connection starting up
5 Connected via Bluetooth
6 Super FP flash
7 RC mode
8 HDR
9 AE Bracketing
Focus Bracketing
0 Handheld Starlight
a Multi Focus Shot
b Multiple exposure
c D Keystone compensation
d Digital Tele-converter
e Time lapse shooting
f Face priority/Eye priority
g Movie sound
h Zoom operation direction/Focal length
i Internal temperature warning m
j Flash
(blinks: charging in progress, lights up: charging completed)
k AF confirmation mark
l Picture mode
m ISO sensitivity
n White balance
o AF mode
p Aspect ratio
q Image quality (still images)
r Record mode (movies)
s Available recording time
t Number of storable still pictures
u Highlight & shadow control
v Top: Flash intensity control
Bottom: Exposure compensation
w Level gauge
x Exposure compensation value
y Aperture value
z Shutter speed
A Histogram
B Preview
C AE lock
D Shooting mode
E Touch operation
F Metering mode
G Sequential shooting/Self-timer
Silent shooting
H Flash intensity control
I Flash mode
J Image stabilizer
K Battery level
L Live guide recall
Monitor display during movie mode
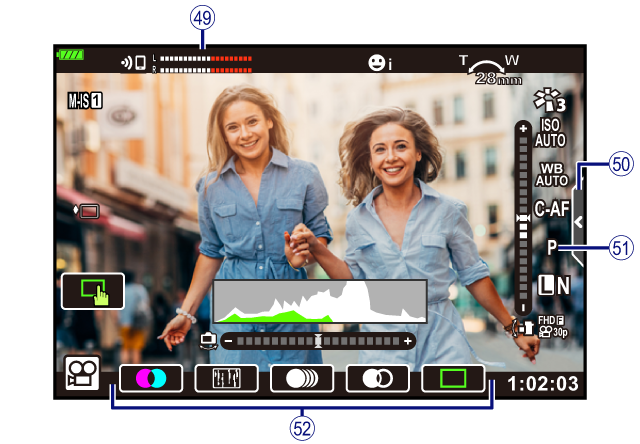
M Recording level meter
N Silent shooting tab
O Movie (exposure) mode
P Movie effect
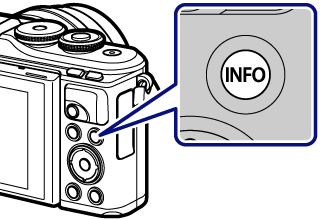
Switching the information display
You can switch the information displayed in the monitor during shooting using the INFO button.
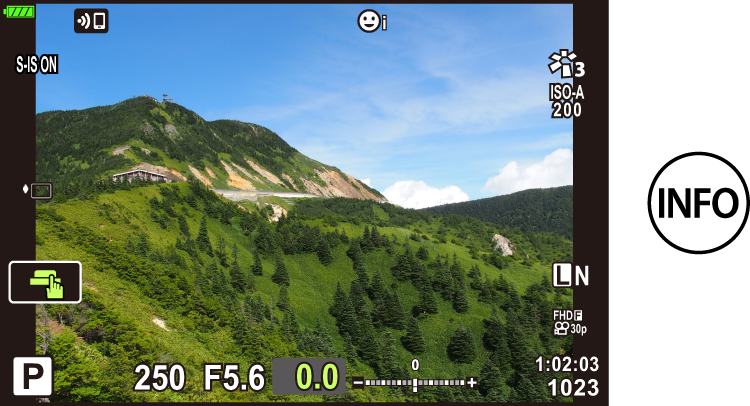
Basic Information
Not displayed in n mode (movie mode) unless recording is in progress.
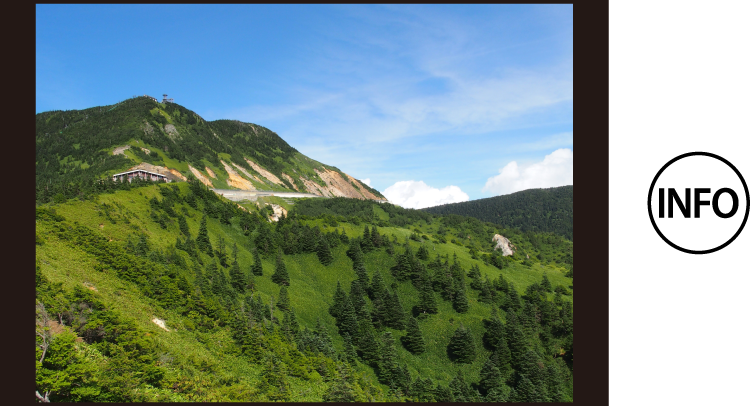
Image Only
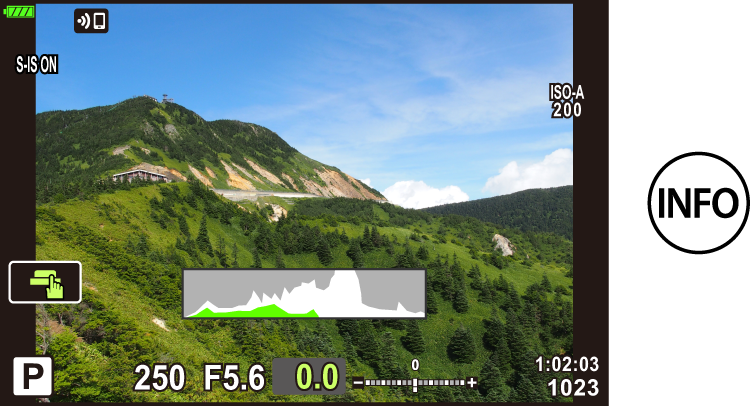
Histogram display (Custom1)
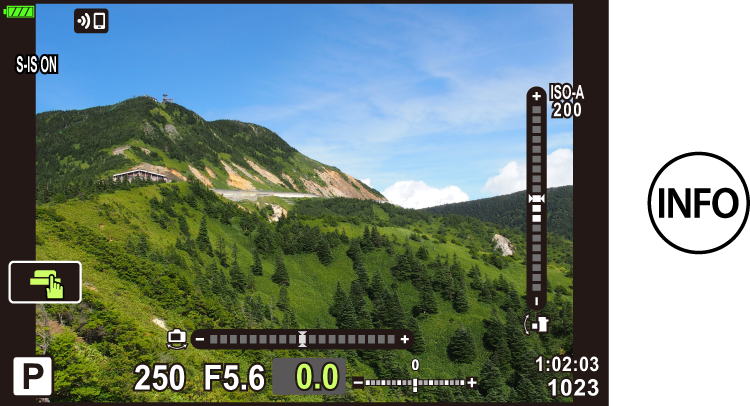
Level Gauge display (Custom2)
-
You can change Custom1 and Custom2 settings.
- The information display screens can be switched in either direction by rotating the control dial while pressing the INFO button.
Histogram display
A histogram showing the distribution of brightness in the image is displayed. The horizontal axis gives the brightness, the vertical axis the number of pixels of each brightness in the image. During shooting, overexposure is indicated in red, underexposure in blue, and the range metered using spot metering in green.

Level gauge display
The orientation of the camera is indicated. The “tilt” direction is indicated on the vertical bar and the “horizon” direction on the horizontal bar. The camera is level and plumb when the bars turn green.
- Use the indicators on the level gauge as a guide.
-
Error in the display can be corrected via calibration.