Choosing a shooting mode and taking photos
Use the mode dial to select the shooting mode, and then shoot the image.
Indicator
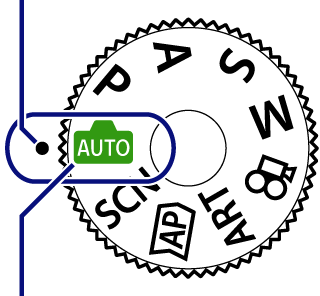
Mode icon
Types of shooting modes
For how to use the various shooting modes, see the following.
- B mode
-
The camera automatically selects the most appropriate shooting mode.
- SCN mode
-
The camera automatically optimizes settings for the subject or scene.
- Z mode
-
Use for quick access to advanced shooting settings.
- ART mode
-
You can shoot with the effect of artistic expression added.
- P mode
-
The camera meters subject brightness and automatically adjusts shutter speed and aperture for optimal results.
gLetting the camera choose aperture and shutter speed (Program mode)
- A mode
-
You choose the aperture and the camera automatically adjusts shutter speed for optimal results.
- S mode
-
You choose the shutter speed and the camera automatically adjusts aperture for optimal results.
- M mode
-
You choose both the aperture and shutter speed.
- n mode
-
Shoot movies of various types.
Functions that cannot be selected from menus
Some items may not be selectable from the menus when using the arrow pad.
- Items that cannot be set with the current shooting mode.
-
Items that cannot be set because of an item that has already been set:
Settings such as picture mode are unavailable when the mode dial is rotated to B.
-
Rotate the mode dial to choose a mode.
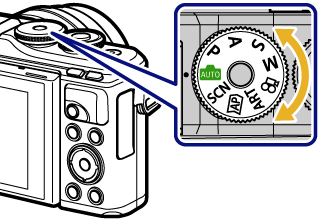
-
Frame the shot.
- Be careful that your fingers or the camera strap do not obstruct the lens or AF illuminator.
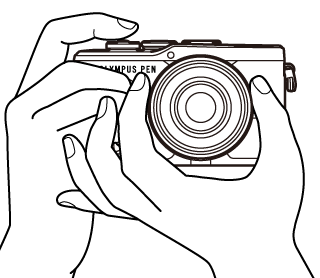
Landscape position
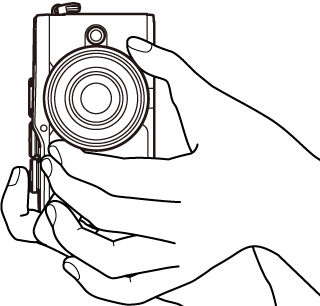
Portrait position
-
Adjust the focus.
-
Display the subject in the center of the monitor, and lightly press the shutter button down to the first position (press the shutter button halfway).
The AF confirmation mark (() will be displayed, and a green frame (AF target) will be displayed in the focus location.
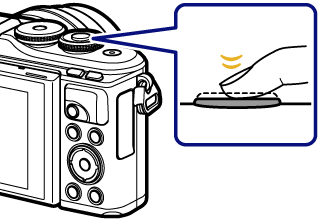
Press the shutter button halfway.

AF confirmation mark
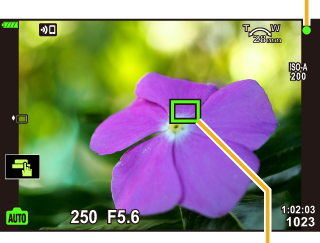
AF target
-
If the AF confirmation mark blinks, the subject is not in focus.
-
-
Release the shutter.
- Press the shutter button all the way (fully).
- The camera will release the shutter and take a picture.
- The shot image will be displayed on the monitor.
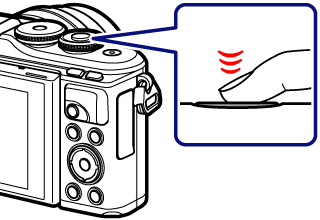
Press the shutter button all the way.
$ Notes
-
You can focus and take pictures using touch controls.
- To exit to shooting mode from menus or playback, press the shutter button halfway.