Editing still images (Edit)
Recorded images can be edited and saved as separate images.
Sel. Image
RAW Data Edit/JPEG Edit
-
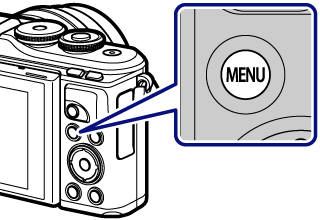
Press the MENU button to display the menus.
-
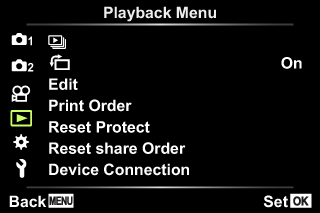
Highlight the q Playback Menu using FG and press the Q button.
-
Highlight [Edit] and press the Q button.
-
Use FG to select [Sel. Image] and press the Q button.
-
Use HI to select the image to be edited and press the Q button.
- [RAW Data Edit] is displayed if a RAW image is selected, and [JPEG Edit] if a JPEG image is selected. For images recorded in RAW+JPEG format, both [RAW Data Edit] and [JPEG Edit] are displayed. Select the desired option from them.
-
Select [RAW Data Edit] or [JPEG Edit] and press the Q button.
- RAW Data Edit
-
Creates a JPEG copy of a RAW image according to the selected settings.
- Current: The JPEG copy is processed using the current camera settings. Adjust the camera settings before choosing this option. Some settings such as exposure compensation are not applied.
- ART BKT: The image is edited using settings for the selected art filter.
- JPEG Edit
-
Choose from the following options:
- [Shadow Adj]: Brightens a dark backlit subject.
- [Redeye Fix]: Reduces the red-eye phenomenon due to flash shooting.
-
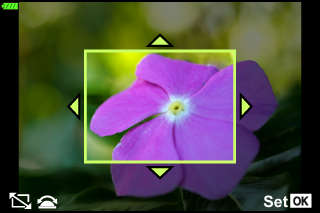
[P]: Trims an image. Use the control dial to choose the size of the crop and FGHI to specify the crop position.
- [Aspect]: Changes the aspect ratio of images from 4:3 (standard) to [3:2], [16:9], [1:1], or [3:4]. After changing the aspect ratio, use FGHI to specify the trimming position.
- [Black & White]: Creates black and white images.
- [Sepia]: Creates sepia-toned images.
- [Saturation]: Increases the vividness of images. Adjust the color saturation checking the image on the screen.
- [Q]: Converts the image size to 1280 × 960, 640 × 480, or 320 × 240. Images with an aspect ratio other than 4:3 (standard) are converted to the closest image size.
-
[e-Portrait]: Compensates the skin look for smoothness.
Compensation cannot be applied in such a case that a face cannot be detected.
-
When the settings are complete, press the Q button.
- The settings are applied to the image.
-
Select [Yes] and press the Q button.
- The edited image is stored in the card.
- Red-eye correction may not work depending on the image.
-
Editing of a JPEG image is not possible in the following cases:
When an image is processed on a PC, when there is not enough space in the card memory, or when an image is recorded on another camera.
- The image cannot be resized (Q) to the larger size than the original size.
- Some images can not be resized.
- [P] (trimming) and [Aspect] can only be used to edit images with an aspect ratio of 4:3 (standard).
Audio recording
Audio can be added to still images (up to 30 sec. long).
This is the same function as [R] during playback.
Image overlay
Up to 3 frames of RAW images taken with the camera can be overlaid and saved as a separate image.
The image is saved with the record mode set at the time the image is saved. (If [RAW] is selected, the copy will be saved in [YN+RAW] format.)
-
Press the MENU button to display the menus.
-
Highlight the q Playback Menu using FG and press the Q button.
-
Highlight [Edit] and press the Q button.
-
Use FG to select [Image Overlay] and press the Q button.
-
Select the number of images to be overlaid and press the Q button.
-
Use FGHI to select the RAW images and press the Q button to add them to the overlay.
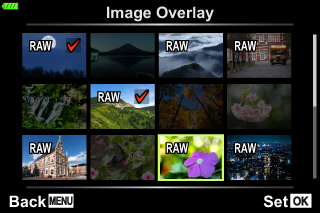
- The overlaid image will be displayed if images of the number specified in step 3 are selected.
-
Adjust the gain for each image to be overlaid.
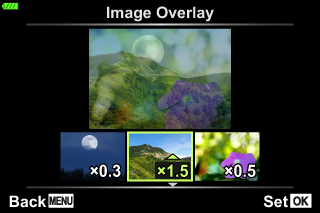
- Use HI to select an image and FG to adjust gain.
- Gain can be adjusted in the range 0.1 – 2.0. Check the results in the monitor.
-
Press the Q button to display the confirmation dialog. Select [Yes] and press the Q button.
$ Notes
- To overlay 4 or more frames, save the overlay image as a RAW file and use [Image Overlay] repeatedly.