Print order (DPOF)
You can save digital “print orders” to the memory card listing the pictures to be printed and the number of copies of each print. You can then have the pictures printed at a print shop that supports DPOF or print the pictures yourself by connecting the camera directly to a DPOF printer. A memory card is required when creating a print order.
Creating a print order
-
Press the q button to select playback mode.
-
Press the Q button to view the menus.
-
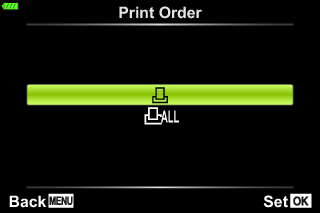
Highlight [Print Order] and press the Q button.
-
Select [<] or [<ALL] and press the Q button.
Individual picture
Press HI to select the frame that you want to set as print reservation, then press FG to set the number of prints.
- To set print reservation for several pictures, repeat this step. Press the Q button when all the desired pictures have been selected.
All pictures
Select [<ALL] and press the Q button.
-
Select the date and time format and press the Q button.
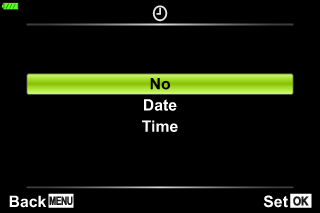
No The pictures are printed without the date and time. Date The pictures are printed with the shooting date. Time The pictures are printed with the shooting time. - When printing images, the setting cannot be changed between the images.
-
Select [Set] and press the Q button.
- The camera cannot be used to modify print orders created with other devices. Creating a new print order deletes any existing print orders created with other devices.
- Print orders cannot include RAW images or movies.
Removing all or selected pictures from the print order
You can reset all print reservation data or just the data for selected pictures.
-
Press the q button to select playback mode.
-
Press the Q button to view the menus.
-
Highlight [Print Order] and press the Q button.
-
Select [<] and press the Q button.
- To remove all pictures from the print order, select [Reset] and press the Q button. To exit without removing all pictures, select [Keep] and press the Q button.
-
Press HI to select images you wish to remove from the print order.
- Use G to set the number of prints to 0. Press the Q button once you have removed all the desired pictures from the print order.
-
Select the date and time format and press the Q button.
- This setting is applied to all frames with print reservation data.
-
Select [Set] and press the Q button.