|
|||||||||||
|
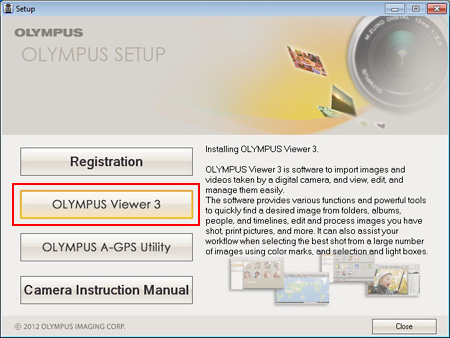
Question : Answer: Free download service for OLYMPUS Viewer 3:
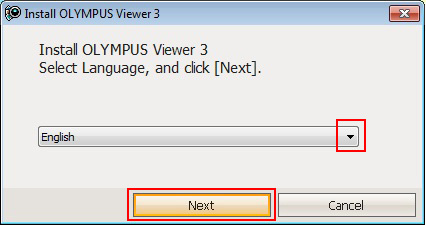
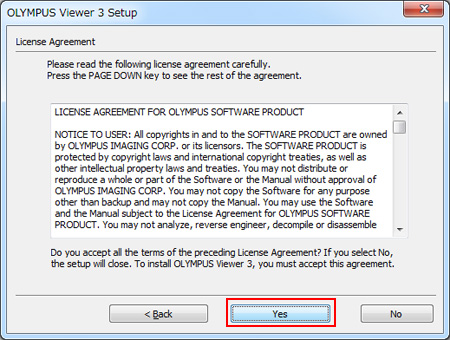
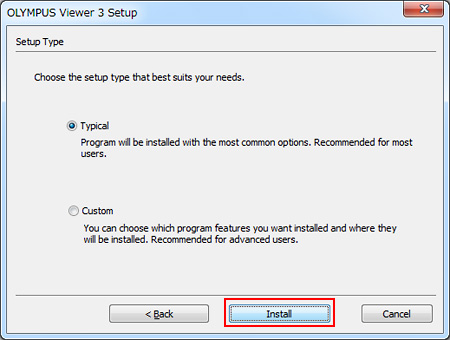
The free download service for OLYMPUS Viewer 3 is no longer available since it has been terminated on March 31, 2019. Installation Procedure for OLYMPUS Viewer 3
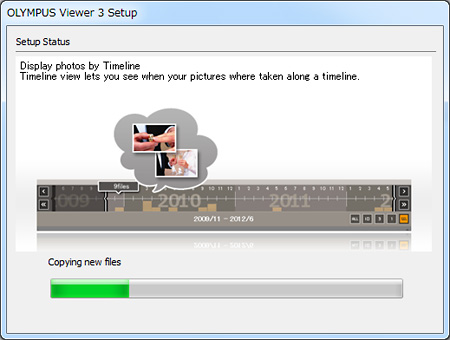
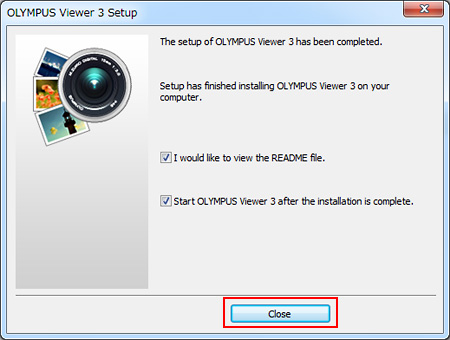
The initial setting after installing the OLYMPUS Viewer 3 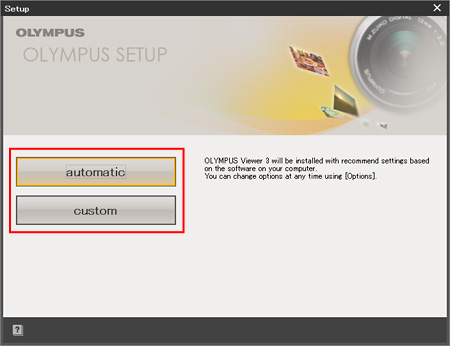
|
|||||||||||||||||||||||||||
 |