|
|||||||||||
|
Question : Answer: This page explains how to update the firmware of the OM-1, OM-1 Mark II, OM-3 , OM-5, E-M1X, E-M1 Mark III, E-M1 Mark II, E-M5 Mark II (firmware ver. 3.0 or later) and PEN-F (firmware ver. 2.0 or later) camera that have the backup function. Click the following question to see instructions for updating the OM-1: Click the following question to see instructions for updating other cameras without backup function: Refer to the following web page before updating the firmware of E-M1X and E-M1 Mark III on a Mac with Apple M1:
To update the firmware of your camera, follow the instructions below:
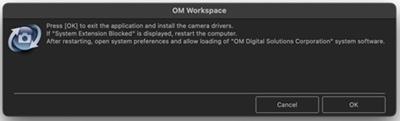
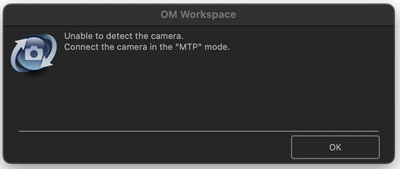
The following procedure explains how to update the firmware for your camera using the latest OM Workspace, version 2.4 as of February 2025. < step 1 > Connect your digital camera to your computer using the bundled USB cable.If the selection menu for USB connection mode is displayed on the camera monitor, select either MTP or Storage depending on your camera and its current firmware version, then press [OK]. (The selection menu for USB connection mode varies by camera.) 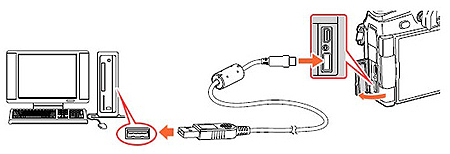 < 1-a > OM-1 Mark II with firmware version 1.1 or later / OM-5 with firmware version 1.2 or later: Select MTP and press the [OK] button. 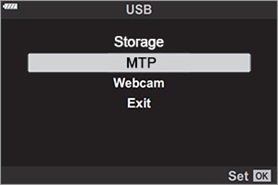 < 1-b > OM-1 Mark II with firmware version 1.0 / OM-5 with firmware version 1.1 or earlier / E-M1X / E-M1 Mark III / E-M1 Mark II / E-M5 Mark II / PEN-F: Select Storage and press the [OK] button. 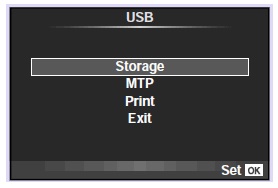 < step 2 > Double-click the "OM Workspace" icon. < step 3 > In Camera, click Update. Update. 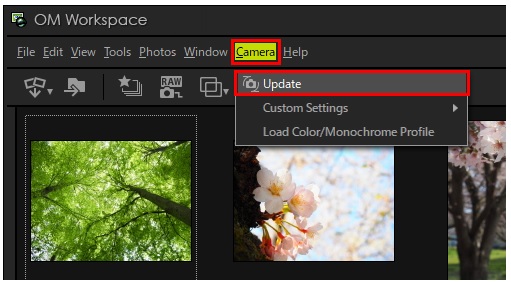 * If the User Account Control window is displayed, click Yes to proceed the installation.
< step 4 > The update window starts.The updater checks via Internet if newer firmware versions are available. Click Next to proceed. 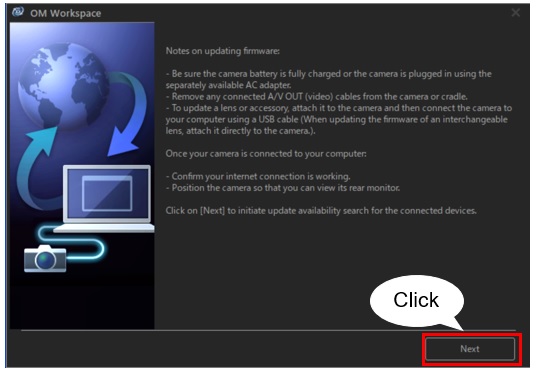
< step 5 > If newer firmware versions are available, they will be displayed in a dialog box.To see what will be changed by applying an update, select it from the list and click Details. To apply a selected firmware update, click Update and then, on the next screen, Yes. (If you click No, the update will be canceled.) 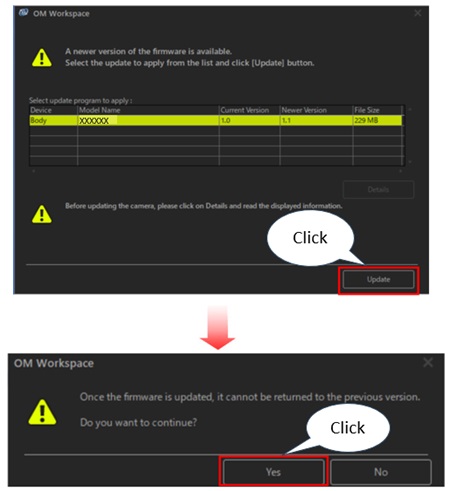 Note:
If the latest version is already applied, you will see the following message: "You are already using the latest firmware. There is no need to update." < step 6 > Carefully read the Software License Agreement. If you accept the terms, click Agree to proceed.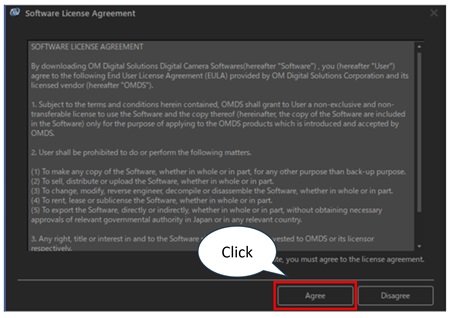 < step 7 > The current settings of the camera will be saved to the computer, and then the new firmware will be transferred to your camera to start the update. < 7-1 >
Click OK to start saving the camera settings to the computer. Once the update starts, check the progress of the OM Workspace window (PC side) and the status of the camera monitor. 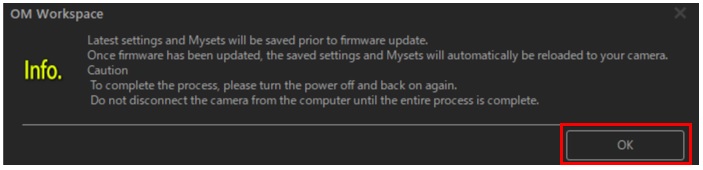 Caution: Display on the camera monitor during update No information is displayed on the camera monitor while saving the camera settings and transferring the firmware. This is not a malfunction or freeze. Please wait for a while until the camera displays the updating screen (screen in step 7-5). Never turn off the camera or disconnect the USB cable.
< 7-2 > The current settings of the camera will be saved to the computer. The OM Workspace window will automatically change to the next when the settings have been saved. 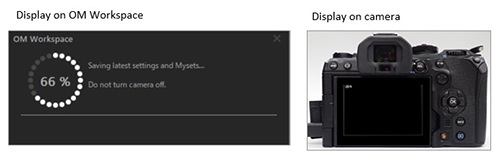 < 7-3 > The new firmware is transferred to the camera. Please wait without any operation. The display will automatically change to the next. 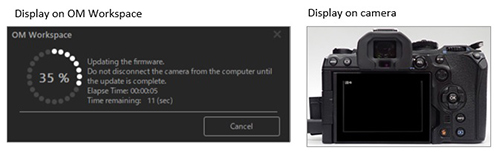 < 7-4 > The new firmware is transferred to the camera. Please wait without any operation. The display will automatically change to the next. 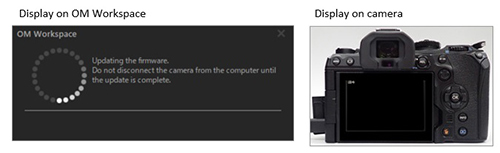 < 7-5 > After the firmware is transferred to your camera, the update starts in your camera. The display changes as in the following image. Please wait without any operation until the digital camera's LCD displays "OK". 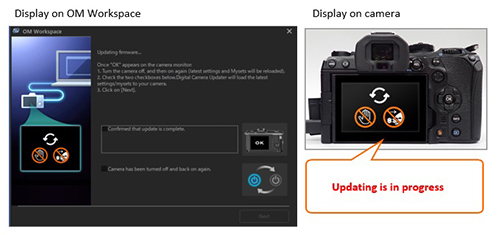 Caution: Do not disconnect the camera from the computer until the LCD on the camera displays "OK". The firmware update is not complete until the camera displays "OK".Disconnecting the camera before the firmware update completes may render the camera inoperable. < 7-6 > The firmware update is completed when the camera's LCD displays "OK". Do not disconnect the USB cable and leave it connected to the camera and computer. Although the OM Workspace still displays the following window, proceed to step 8 without any operation. 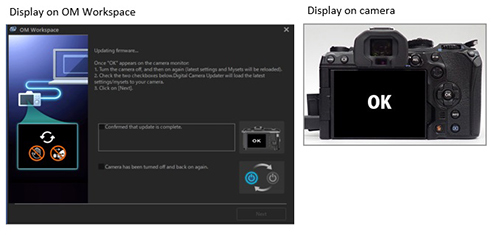 < step 8 > Make sure that "OK" is displayed on the camera's monitor.Leave the USB cable connected to the camera and computer, turn the camera Off using the power lever, and then turn it back On. 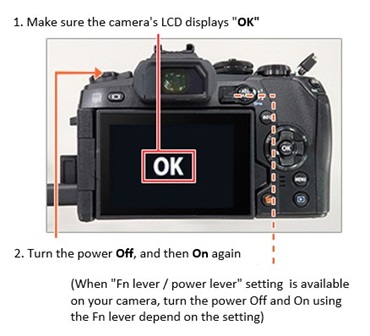 * If power ON/OFF is assigned to the Fn lever, you may have to turn the power Off and On using the Fn lever. If you cannot turn on/off the power using the power lever after firmware updating, try using the Fn lever. < step 9 > The camera settings, saved in step 7, are reloaded to the camera.Select the check boxes in the OM Workspace window ("Confirmed that update is complete.", "Camera has been turned off and back on again."), and then click Next (*). The camera settings are reloaded from the computer to the camera. * Next can be clicked after the two check boxes are selected. 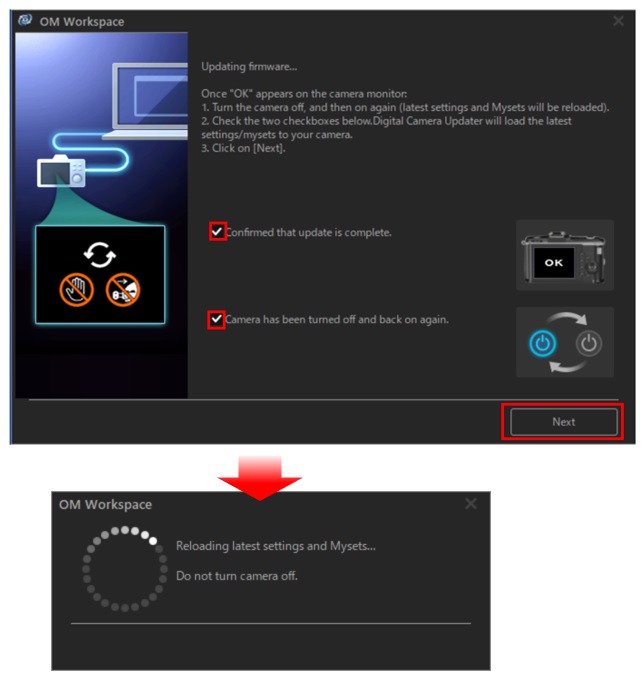 < step 10 > Firmware update is complete. Click Close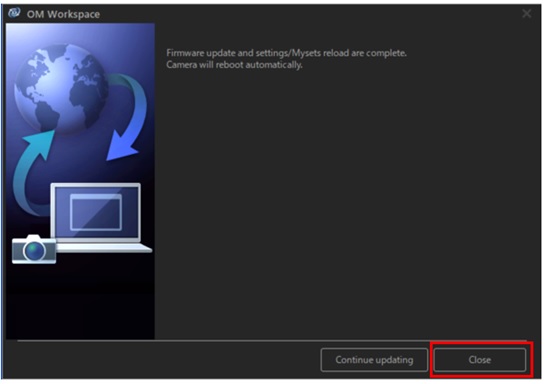 Note: |
||||||||||||||||||||||||||||||
 |